If your beloved air mattress has a tear or hole in the fabric side, fear not! In this article, we will dive into the wonderful world of mattress repair and learn how to fix the fabric side of an air mattress. So, grab your tools and get ready for a DIY adventure that will save you money and ensure a good night’s sleep.
Now, we all know that accidents happen, and sometimes our air mattresses bear the brunt of it. Whether it’s a mischievous pet with sharp claws or a mishap during a camping trip, a damaged fabric side can leave you feeling deflated. But worry not, my friend, because I’m here to guide you through the process of repairing that tear like a pro. We will explore the materials you’ll need, step-by-step instructions, and some valuable tips and tricks to make the process as smooth as possible. So, let’s jump right in and get your air mattress back in tip-top shape!
- Inspect the damaged area: Locate any holes, tears, or punctures on the fabric side of the air mattress.
- Clean the area: Use a mild detergent and warm water to clean the damaged spot. Ensure it is dry before proceeding.
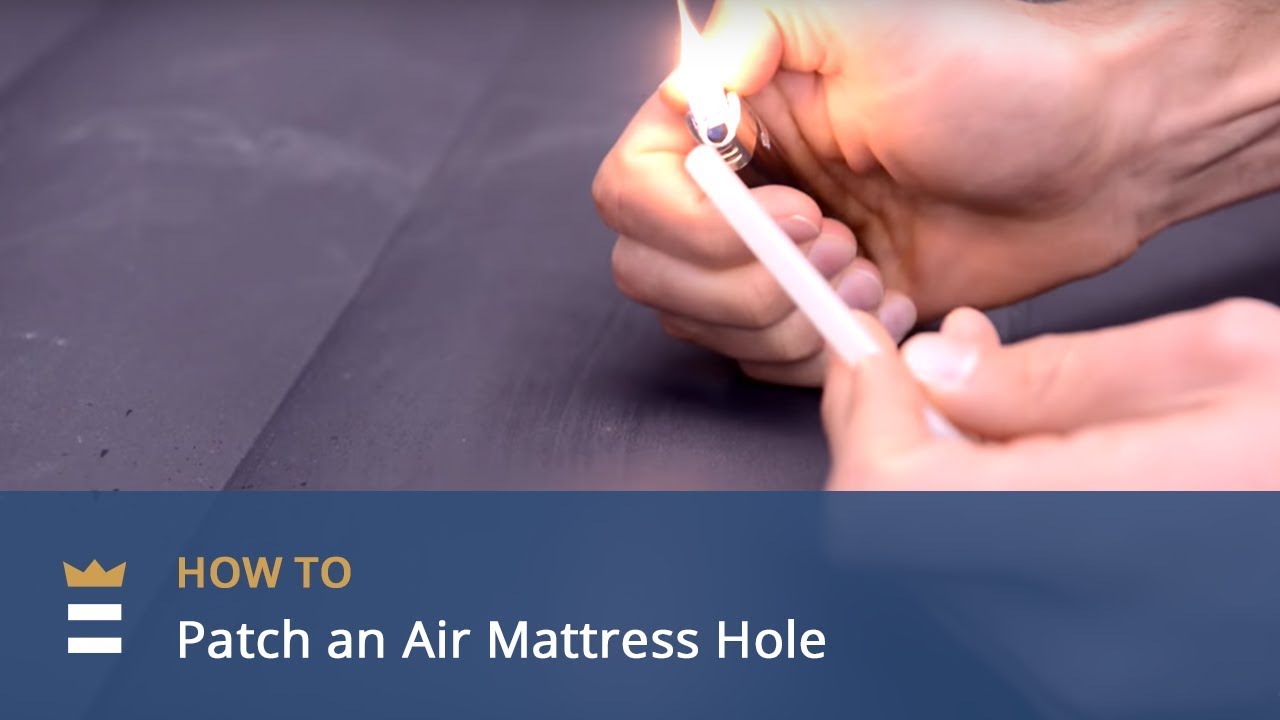
- Apply a patch: Cut a patch from a repair kit or a similar material, ensuring it is larger than the damaged area. Apply adhesive to the patch and place it over the damage, smoothing out any wrinkles.
- Press and seal: Apply pressure to the patch to ensure a strong bond. Allow sufficient drying time as per the adhesive instructions.
- Inflate and test: Once the adhesive has cured, inflate the air mattress and check for any leaks. If the patch holds, your repair is successful!

How to Repair the Fabric Side of an Air Mattress?
Air mattresses are a convenient and comfortable sleeping option, especially when you have guests or are going camping. However, over time, the fabric side of an air mattress can develop tears or punctures, compromising its functionality. It’s essential to know how to repair these damages to extend the lifespan of your air mattress. In this article, we will guide you through the process of repairing the fabric side of an air mattress, ensuring that you can enjoy a good night’s sleep for years to come.
Understanding the Damage
Before you begin the repair process, it’s important to assess the extent of the damage to the fabric side of your air mattress. Look for any visible tears, punctures, or holes. Sometimes, the damage may be small and easily fixable, while other times, it may be more significant. Identifying the size and location of the damage will help determine the appropriate repair method.
To locate smaller holes or tears, inflate the air mattress fully and listen for any hissing sounds. You can also run your hand along the surface to feel for any escaping air. Once you have identified the damaged areas, mark them with a pen or a piece of tape for easier repair.
Repairing Small Holes and Tears
If you have small holes or tears in the fabric side of your air mattress, there are several methods you can use to repair them. One popular option is using a patch kit specifically designed for air mattresses. These kits typically include adhesive patches that can be applied directly to the damaged area.
To repair the small hole or tear, start by cleaning the surrounding area with rubbing alcohol to remove any dirt or debris. This will ensure that the patch adheres properly. Next, cut a patch from the adhesive material slightly larger than the damaged area. Apply a thin layer of adhesive to the patch and press it firmly onto the damaged area, ensuring there are no air bubbles. Allow the adhesive to dry completely before inflating the air mattress.
Another repair method for small holes and tears is using a vinyl repair adhesive. This adhesive is similar to the adhesive used in patch kits but can be applied directly without the need for a patch. Clean the damaged area with rubbing alcohol, apply a thin layer of adhesive, and allow it to dry. Repeat this process until the hole or tear is fully covered and sealed.
Repairing Larger Tears and Punctures
If you have larger tears or punctures in the fabric side of your air mattress, the repair process may require additional steps. One effective method is using a vinyl repair patch, which is a larger and more durable version of the adhesive patches found in patch kits.
To repair larger tears and punctures, start by cleaning the damaged area with rubbing alcohol. Cut a vinyl repair patch larger than the damaged area and apply a thin layer of adhesive to the back of the patch. Place the patch over the tear or puncture, ensuring that it fully covers the damaged area. Press firmly to remove any air bubbles and allow the adhesive to dry completely.
In some cases, you may need to reinforce the repair by stitching the edges of the tear or puncture. Use a heavy-duty thread and a needle to carefully stitch around the damaged area, securing the patch in place. This will provide additional strength and durability to the repair.
Tips for Proper Maintenance
Repairing the fabric side of an air mattress is just one part of ensuring its longevity. Proper maintenance is equally important to prevent future damages. Here are some tips to keep in mind:
1. Regularly inspect your air mattress for any signs of wear and tear. Catching small damages early can prevent them from becoming more significant issues.
2. Avoid placing your air mattress on rough surfaces that may cause punctures. Use a protective barrier, such as a groundsheet or a tarp, when camping or placing the mattress outdoors.
3. Keep your air mattress away from sharp objects or pets that could potentially damage the fabric.
4. When inflating or deflating your air mattress, be gentle to avoid putting unnecessary strain on the seams and fabric.
5. Store your air mattress in a clean and dry place when not in use. Avoid folding or rolling it too tightly, as this can lead to fabric stress and potential damage.
By following these maintenance tips and promptly repairing any damages, you can ensure that your air mattress remains in excellent condition for years to come.
Conclusion
Repairing the fabric side of an air mattress is a straightforward process that can save you from the hassle of purchasing a new one. Whether you have small holes or tears or larger tears and punctures, there are various methods available to restore the functionality of your air mattress. By understanding the damage, using the right repair techniques, and practicing proper maintenance, you can extend the lifespan of your air mattress and enjoy a comfortable sleep experience. Remember to always be cautious and follow the manufacturer’s instructions for any specific repair methods or products. Happy sleeping!
Key Takeaways: How To Repair the Fabric Side of an Air Mattress
- Inspect the damaged area to determine the extent of the repair needed.
- Clean the area around the tear with mild soap and water to ensure proper adhesion.
- Apply a repair patch specifically designed for air mattresses over the tear, following the manufacturer’s instructions.
- Press down firmly to ensure the patch adheres well to the fabric.
- Allow the patch to dry completely before inflating the mattress to check for leaks.
Frequently Asked Questions
Q: Can the fabric side of an air mattress be repaired?
A: Yes, the fabric side of an air mattress can be repaired with a few simple steps. Here’s what you need to do:
First, locate the tear or hole in the fabric. It’s important to patch it up as soon as possible to prevent further damage. Clean the area around the tear with a mild detergent and water solution, and make sure it’s completely dry before proceeding.
Q: What materials do I need to repair the fabric side of an air mattress?
A: To repair the fabric side of an air mattress, you’ll need the following materials:
1. Patch kit: This usually includes adhesive patches that are designed to bond with the fabric of the air mattress. Make sure to choose a patch kit that is suitable for the type of fabric your mattress is made of.
2. Scissors: You’ll need a pair of scissors to cut the patch to the desired size and shape.
3. Sandpaper: Use sandpaper to roughen the surface around the tear, as this will help the patch adhere better.
4. Marker or pen: This will be used to mark the area that needs to be repaired.
Q: How do I repair a small tear in the fabric side of an air mattress?
A: If you have a small tear in the fabric side of your air mattress, follow these steps to repair it:
1. Clean the area around the tear with a mild detergent and water solution. Make sure it’s completely dry before proceeding.
2. Use sandpaper to roughen the surface around the tear. This will help the patch adhere better.
3. Cut a patch from the adhesive patch kit that is slightly larger than the tear. Round the corners of the patch to prevent it from peeling off.
4. Apply adhesive to the back of the patch and press it firmly onto the tear. Smooth out any air bubbles or wrinkles.
5. Allow the adhesive to dry according to the instructions on the patch kit. Once dry, test the repair by inflating the air mattress and checking for any leaks.
Q: What should I do if the tear in the fabric side of my air mattress is large?
A: If you have a large tear in the fabric side of your air mattress, it may require a more extensive repair. Here’s what you can do:
1. Clean the area around the tear with a mild detergent and water solution. Make sure it’s completely dry before proceeding.
2. Use sandpaper to roughen the surface around the tear. This will help the patch adhere better.
3. Cut a piece of fabric from an old sheet or similar material that is larger than the tear. Round the corners of the fabric to prevent it from fraying.
4. Apply fabric adhesive to the back of the fabric patch and press it firmly onto the tear. Smooth out any air bubbles or wrinkles.
5. Allow the adhesive to dry according to the instructions on the adhesive packaging. Once dry, test the repair by inflating the air mattress and checking for any leaks.
Air Mattress Repair Fuzzy Side and 5 Repair Tips
Final Summary: Repairing the Fabric Side of an Air Mattress
Now that you know how to repair the fabric side of an air mattress, you can rest easy knowing that a small tear or hole doesn’t have to mean the end of your beloved air mattress. By following these simple steps, you can save money and extend the lifespan of your mattress. Remember to always start by cleaning the area and gathering the necessary materials. Then, carefully apply the patch or adhesive, making sure to smooth out any air bubbles. Allow the repair to dry completely before reinflating the mattress and putting it to use. With a little bit of effort and the right technique, your air mattress will be as good as new in no time.
In addition to the repair process itself, it’s important to take preventive measures to avoid future damage to your air mattress. Keep sharp objects away from the mattress, and use a protective cover when camping or storing the mattress. Regularly inspect your mattress for signs of wear and tear, and address any issues promptly to prevent further damage. By taking these steps and following the repair instructions provided, you can ensure that your air mattress remains in excellent condition for years to come. So, don’t let a small tear deflate your spirits – with a little DIY know-how, you can keep your air mattress going strong and enjoy many more comfortable nights of sleep.